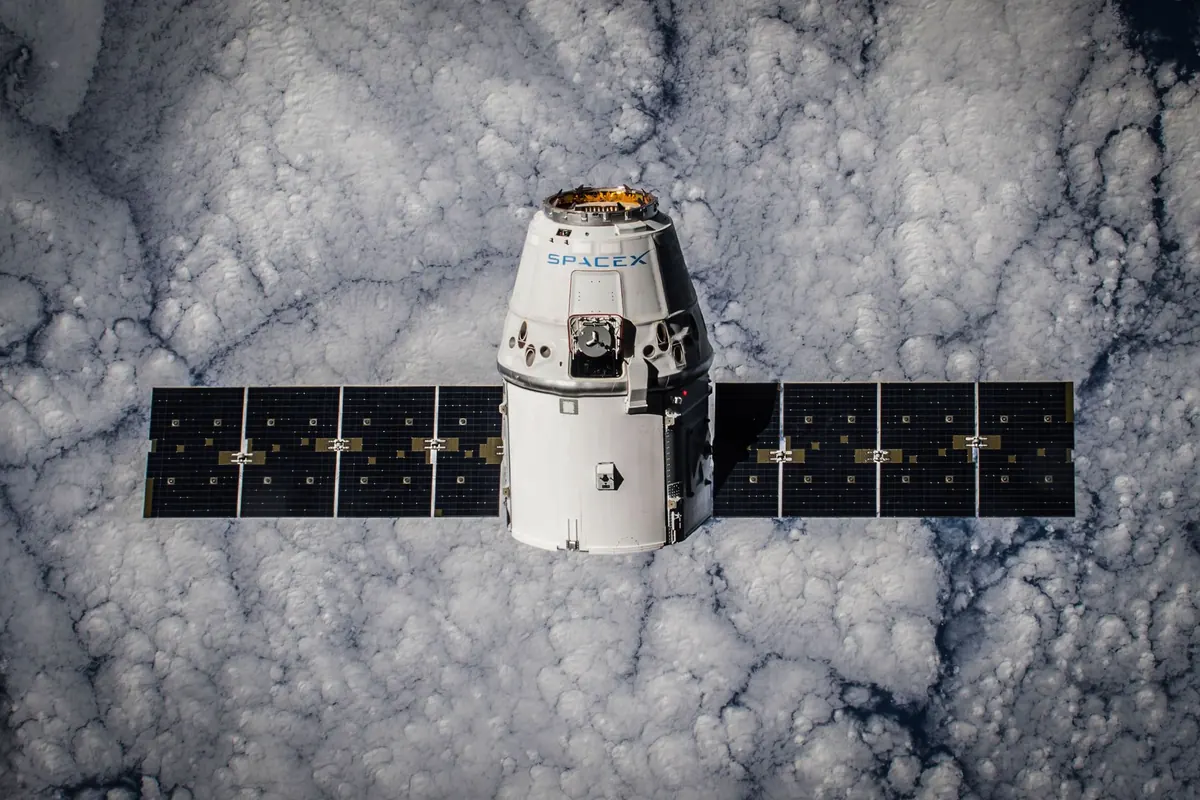
Somewhere above your house, a satellite the size of a filing cabinet is broadcasting a picture of the clouds you can see out of the window. It does this every day, roughly every 100 minutes, and it does not care who listens. With a modest antenna, a cheap software-defined radio and a laptop, you can catch those transmissions and turn them into images of the UK, the Atlantic and the polar ice.
This is one of the more satisfying projects in amateur radio, partly because it is genuinely useful and partly because the results arrive in minutes rather than months. Here is how to put a receiving station together in a garden, a balcony or a spare bedroom window.
What you can actually receive
The easiest targets are the NOAA polar-orbiting satellites still transmitting analogue images on VHF, plus the Meteor-M series from Russia, which send a digital signal. Both pass overhead several times a day, and each pass gives you a strip of the Earth roughly 3,000 km wide. Stack enough strips together and you have a full global picture.
Weather satellites broadly fall into two groups:
- Polar orbiters such as NOAA-15, NOAA-18, NOAA-19 and Meteor-M2, which pass over at about 800 km altitude and transmit at around 137 MHz. They are the ones you want.
- Geostationary satellites such as Meteosat and GOES, parked over the equator at about 36,000 km. They need much bigger dishes and far more patience. Useful later, not now.
There are also the amateur satellites on 145 MHz and the ISS, which occasionally sends slow-scan television pictures. They make good bonus targets once the basics work.
Choosing an SDR
Software-defined radio has made this hobby almost embarrassingly cheap. A basic RTL-SDR dongle, the kind built around a Realtek tuner chip, will tune 137 MHz perfectly well and costs less than a decent meal out. Look for one with a stable TCXO oscillator; without it, the frequency will drift as the dongle warms up and your images will smear.
Other options exist. The Airspy and SDRplay receivers have better dynamic range and filter out strong FM broadcast interference more effectively, which matters if you live near a transmitter mast. But an RTL-SDR with a good antenna will outperform an expensive radio with a poor one, so spend your money on the antenna first.
You will also need a suitable connector chain: usually an SMA to F-type or BNC adapter, plus a length of low-loss coaxial cable such as RG-58 or, for longer runs, something better. Keep the cable short if you can. Every metre of cheap coax eats signal at VHF.
Antennas: the part that decides everything
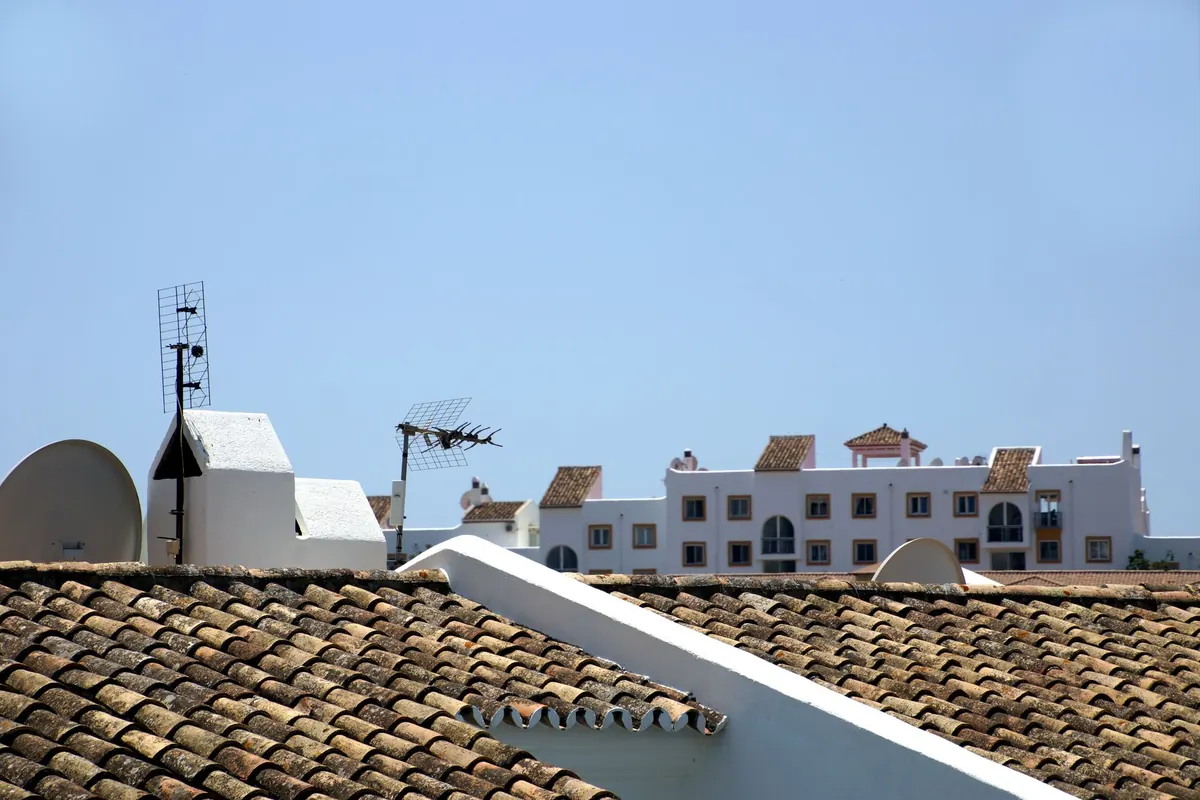
The classic beginner antenna is a turnstile or QFH design cut for 137 MHz, mounted on a pole above the roofline. It is circularly polarised, which matches the satellite's signal and means you do not need to track or rotate anything. The satellite can be anywhere in the sky and the antenna will hear it.
A simpler starting point is a V-dipole: two 53 cm elements set at roughly 120 degrees in a shallow V, laid flat or mounted horizontally. It costs almost nothing, takes twenty minutes to build from wire and a bit of plastic, and works surprisingly well for high passes. Best of all, it is a fair-weather antenna that you can put out on the lawn when you need it and take in when the weather turns.
Whichever you choose, keep a few things in mind:
- Height beats everything. Get the antenna above the roof, or at least clear of walls and metal guttering.
- Keep it away from the mains wiring in the house, which is a reliable source of noise at 137 MHz.
- Weatherproof the connection properly. Self-amalgamating tape over the joint will save you a frustrating evening in six months' time.
- Point the nulls, not the peaks, at local interferers. Sometimes a small rotation of the mast cleans up a noisy signal entirely.
If your first pass produces nothing but hiss, the antenna is nearly always the problem, not the software.
Software and decoding
On Windows, the standard tool is SDR# or SDR Console for tuning, feeding audio into WXtoImg for NOAA and Meteor images. On Linux and macOS, GQRX or SDR++ handles the radio side, and SatDump does the decoding for both analogue and digital satellites.
The workflow is straightforward once it works:
- Use a tracking program such as Gpredict or Orbitron to find the next good pass. Anything above 30 degrees maximum elevation will give you a clean image.
- Tune to 137.100 MHz for NOAA-15, 137.9125 MHz for NOAA-18, 137.100 MHz for NOAA-19, and 137.900 MHz for Meteor-M2. Check current frequencies, as they occasionally change.
- Set the receiver to wideband FM with a bandwidth of roughly 40 kHz and turn off any noise reduction or squelch. The signal is weak and needs to be left alone.
- Record the audio as a WAV file for the duration of the pass, then process it afterwards.
- Feed the file into your decoder, which will align the scan lines and produce an image. Expect visible noise at the start and end of the pass; that is normal.
Meteor-M2 needs a little more care. Its digital signal is less forgiving of frequency errors, so make sure your dongle is calibrated and your sample rate is set correctly. Once you get it working, though, the images are sharper and in colour.
Practical tips from the garden shed
Start with a single high pass and work from there. Recording a whole pass and processing it later is far easier than trying to decode live, because you can experiment with settings without losing the data. Keep notes: frequency, time, elevation, antenna position, and what the result looked like. Patterns appear quickly.
Interference is the main enemy in a built-up area. Cheap LED lighting, solar panel inverters and powerline networking adapters all radiate noise around 137 MHz. If your images are streaked with diagonal lines, try running the receiver on battery power and see whether it clears up. Sometimes the fix is simply moving the antenna to the other end of the garden.
Be realistic about results. A modest setup will give you recognisable cloud patterns, coastlines and the odd glimpse of the Alps or the English Channel. It will not match the polished imagery from the weather apps. But there is a real pleasure in watching a strip of your own country appear line by line, knowing that the signal travelled 800 km down to a piece of wire in your garden.
Getting started this weekend
Order a dongle with a TCXO, a length of coax and some adapters, then build a V-dipole from stiff wire and a scrap of plastic. Set up Gpredict and SatDump, find a pass above 40 degrees, and record it. Your first decoded image will probably be noisy and half-turned. Your fifth will look like something worth keeping.
From there, the upgrades suggest themselves: a QFH antenna on the chimney, a masthead preamplifier, a dedicated Raspberry Pi running automatic captures and posting them to a web page. The satellites are up there either way, transmitting to nobody in particular. It costs very little to be somebody who is listening.
Photo: Tom Van Dyck / Pexels